Finishing your Session
Saving your Risk Assessment
To save the results of your automated risk assessment, just click on the dropdown arrow next to the (orange) 'run' button and select either:
- calculate future risk (saved)
There are also options there to calculate a 'current risk' but that will be described in another tutorial.

Exporting a Model
Once you have finished working on your model it will be automatically saved and can be accessed from the Dashboard whenever you want to resume working on it.
However, you may also want to export a copy of your model for others to import and use.
To do this you can use the Export button near the Asset Palette:

You can export the Full Model, or only the Asserted Assets. SSM infers the existence of many assets and relationships that you have not explicitly added to the canvas. Exporting the asserted assets only means exporting only those assets and relationships which you have added to the canvas (not those that are inferred) and results in a smaller file size.
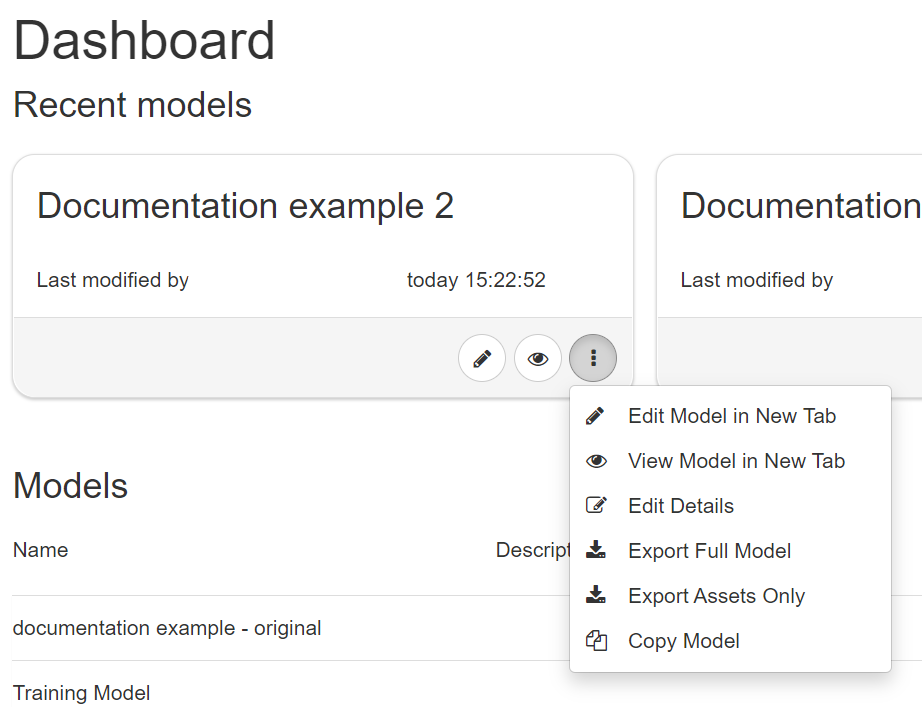
Models can also be exported from the Dashboard by clicking the three dots next to the selected model, which will display this menu.

Downloading a Model Report
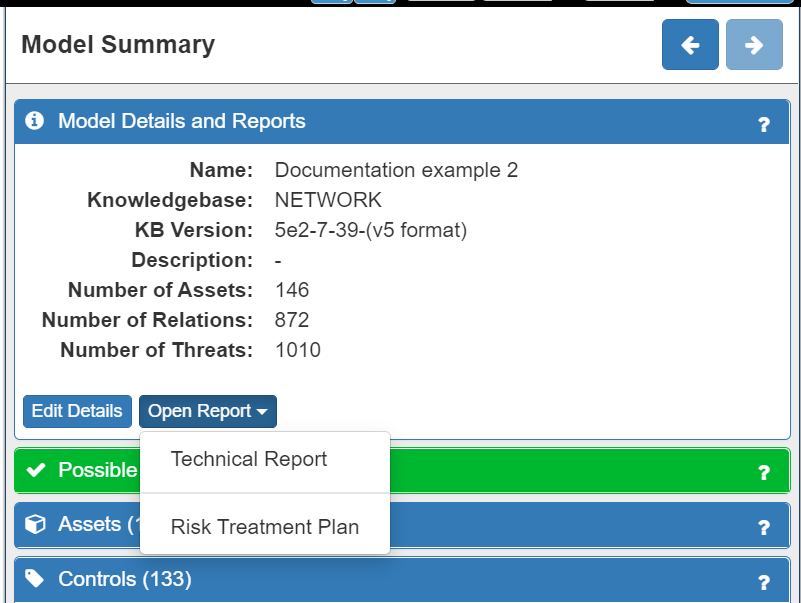
Once you have finished modelling, exploring risks and experimenting with Controls, you are able to download a Technical Report. You do this by clicking on the Open Report button in the Model Details and Reports tab in the Model Summary panel and selecting Risk Treatment Plan:

Conclusion
Across the 8 Tutorials you have learnt how to:
- model and validate your system, and refine the model to best reflect your specific context
- run the risk assessment and analyse and evaluate the results
- treat the risks that have been identified with a range of Controls
- download and export models, reports and treatment plans for use offline
You are now ready to start using the System Security Modeller tool in your business. Remember, you can check back on these tutorials at any time using the Help button.